There are certain summer afternoons when the heat seems manageable until I move, and then within seconds I feel a wave of warmth rising from the base of my neck. I used to assume this discomfort came from my face becoming warm or my hair trapping heat.
The real source was the narrow strip of skin at the back of my neck. That area absorbs and holds heat in a way that affects how my entire body feels. Once the temperature rises there, the rest of the routine collapses.
Once I identified this chain reaction, the solution became surprisingly simple: find a way to cool the neck before the heat spreads.
But I needed something small, portable, light, and stable. I needed something precise enough to regulate temperature without interrupting movement. That is what led me to create a mini cooling pad.
Why Commercial Cooling Products Didn’t Work for What I Needed
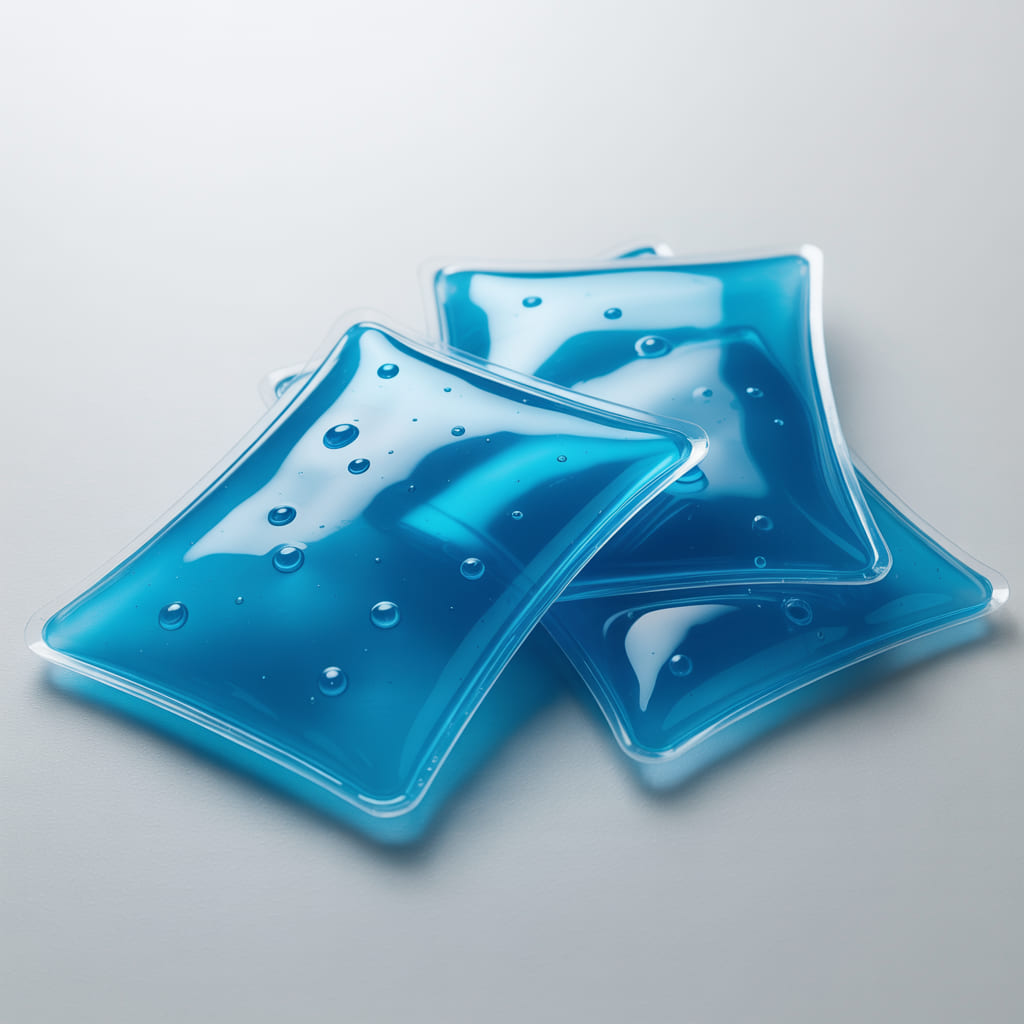
Before making my own cooling pad, I tried several store-bought options, but none addressed the issue efficiently. Some were gel-based pads designed for larger areas, which made them awkward to position on the neck.
Others were meant for sports cooling, which meant they stayed cold for too long or too intensely, overwhelming the area instead of regulating it. A few required wetting or snapping to activate, which made them impractical indoors or while getting ready.
These products weren’t ineffective by design; they were simply built for different purposes — long-duration cooling, high-intensity activity, or full-surface coverage.
What I needed instead was:
- a targeted cooling effect
- low condensation
- short activation time
- light pressure
- a texture that wouldn’t disrupt the skin or hair
I needed something engineered for precision, not intensity. So I built something that behaved exactly the way my neck needed it to: cool enough to lower temperature quickly, soft enough not to create discomfort, and small enough to integrate into my routine.
The Moment That Inspired the Design
The idea came unexpectedly one afternoon when I placed a chilled spoon against the side of my neck. I had been experimenting with cooling methods out of frustration, and when the cool metal touched the skin, the effect was immediate.
But a spoon wasn’t practical. It warmed too quickly, didn’t hold its temperature, and wasn’t hands-free. Yet the principle was sound: a small, cool surface applied at the correct point could regulate heat for the entire upper body.
That realization guided everything that followed.
The Materials I Chose and Why They Work
When I began building the cooling pad, I experimented with different fillers and fabrics. Some materials didn’t retain cold well enough. Others condensed too quickly or became rigid once cooled.
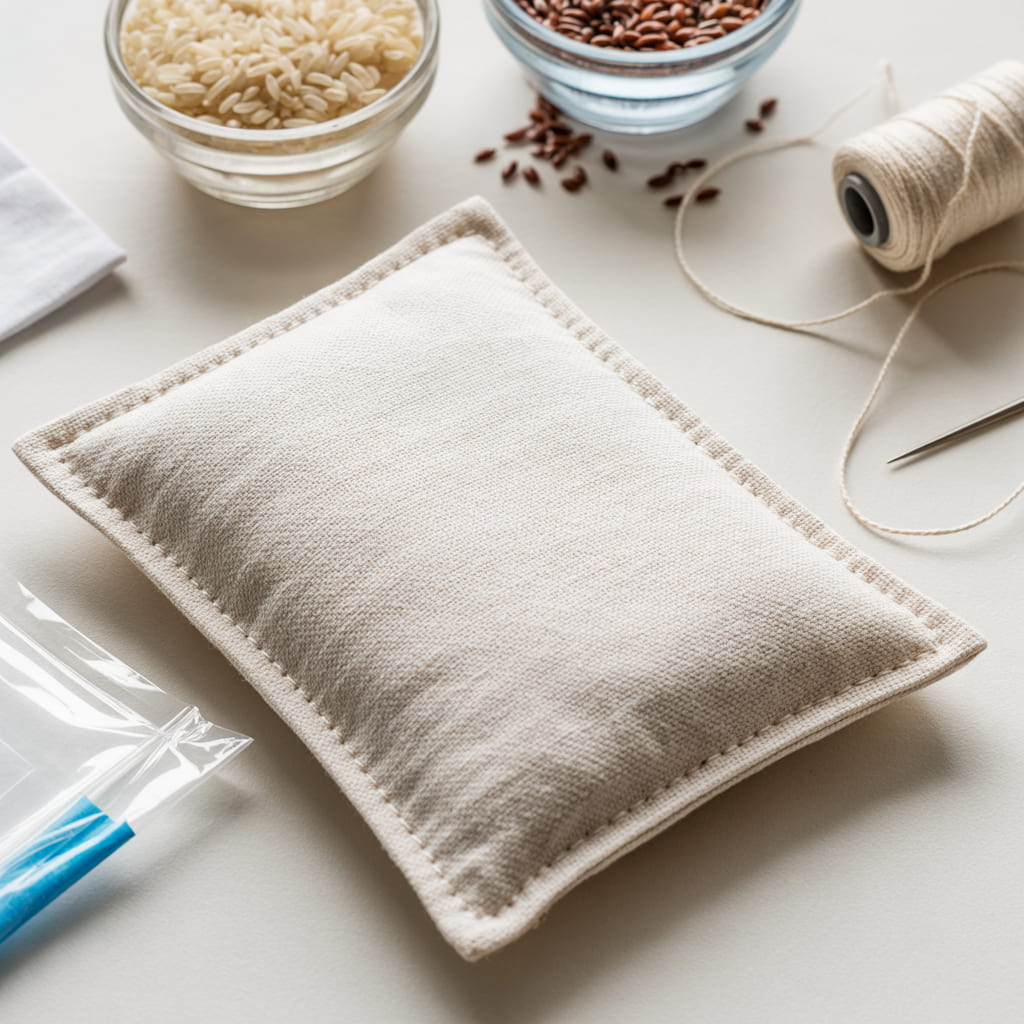
After several tests, I realized the ideal combination was something flexible with moderate density that released coolness slowly and evenly. The solution was a blend of:
- fine rice for weight distribution
- a small portion of flaxseed for temperature retention
- a tightly woven cotton for the casing
The blend holds cold without freezing, remains flexible for contouring around the neck, and avoids condensation almost entirely. The cotton surface feels soft against the skin and remains breathable even after repeated cooling cycles.
The pad stays cool for ten to fifteen minutes – the exact amount of time needed to stabilize temperature without numbing the area or becoming uncomfortable.
The DIY Cooling Pad (Recipe + Steps)
Materials:
- ¼ cup fine rice
- 2 tablespoons flaxseed
- Small square or rectangle of tightly woven cotton
- Needle and thread (or fabric glue for a no-sew version)
- Freezer-safe bag for storage
How I Make It:
- Sew (or glue) three sides of the cotton fabric to create a pocket.
- Fill the pocket with the rice and flaxseed blend.
- Seal the final side securely so the filler cannot shift excessively.
- Allow the pad to sit in the freezer inside a bag for at least one hour before use.
How I Use It:
- Place the pad along the back of the neck while getting ready or resting.
- Let it cool the area for ten to fifteen minutes.
- Remove once body temperature stabilizes and proceed with makeup or routine.
It is small, light, and easily stored without taking up space.
The First Time the Cooling Pad Changed the Flow of My Day
The first morning I used the cooling pad, I had stepped outside briefly, and the early heat was already building. Normally this meant my scalp would warm by the time I returned inside, and my makeup routine would become unpredictable as a result.
But that day, I placed the cooling pad on my neck for a few minutes before I began anything else. Within seconds, I felt the heat dissipating. My scalp remained calm. My face stayed cool enough that my moisturizer absorbed evenly rather than evaporating too quickly.
The rest of the routine moved efficiently because I never had to fight the discomfort that usually interrupts summer mornings. I finished everything faster and with more accuracy because the heat never destabilized the sequence.
That morning convinced me the cooling pad deserved a permanent place in my summer routine.
What Surprised Me Most: The Cooling Pad Improved My Hair Routine Too
I didn’t expect the cooling pad to influence my hair, but it did. When the neck cools, the scalp cools as well, which prevents heat-based issues such as:
- root lift caused by trapped warmth
- mid-day collapse of styles
- frizz triggered by rising temperature
- increased sebum production
The cooling pad creates a stable environment for both hair and makeup, reducing the number of adjustments I need to make before leaving the house.
It reinforced something I often notice in my routines: a single structural change can correct multiple issues simultaneously.
A Closing Reflection
The mini cooling pad is simple, unassuming, and easy to overlook. But it changed my summer entirely because it addresses a structural problem instead of a cosmetic one.
It prevents heat from disrupting everything else. And because it is small and precise, it delivers exactly the amount of support needed without interfering with the rhythm of the day.
Sometimes the most effective DIY tools are not the ones that redesign the routine. They are the ones that stabilize it quietly in the background.